Pages

Monday, May 10, 2010

Birthday Cake : Decision Made!


So it's been decided. This year's birthday cake request is Club Penguin. L loves to play on it, it's an online game where your character is a penguin, and you can run around and play games to earn penguin money and buy things like clothes and pets. It seems to be really popular among the kids these days, there's club penguin books, games, cards, stuffed animals, figurines.. etc. 

So the project this year will be to create a Club Penguin themed cake. I got some new springform baking pans over the weekend, and the cutest little mixing bowls. Cow print on the outside and piggy colored pink on the inside. TOTALLY CUTE. 

I think as I bake more, my drawing skills will improve. At least that's my hope. My drawing skills are really bad, I can only draw stick figures. (Sometimes those come out bad too, uneven stick arms and legs, lol) I've been working on some rough draft sketches for how to make this cake. My penguin drawings look like eggs with feet.I'm better with fondant than a pencil and paper, ha. 

Mother's Day was awesome, I got a great home cooked meal, Beef and Chicken Fajitas. YUM. With Pico de Gallo, and fresh guacamole, flour tacos. YUM. I stuffed myself silly with the great Mexican food. I'm still eating the tons of leftovers today, no cooking! 


^.^ Piggy

Thursday, May 6, 2010

French Bread

Today in Piggy's Kitchen: Fresh French Bread

Mmmmmmmmmm.... Smells great in the house!
This time I think I got the seam pinching down, they really look great!


^.^ Piggy

Wednesday, May 5, 2010

Doughnut Day!


As Homer on the The Simpsons would say," mmmmmmm...doughnuts...*drool*"


This morning in Piggy's Kitchen: Dairy-Free Doughnuts! 

I found this recipe a few weekends ago after daydreaming about the days when the hubby and I could go to Krispy Kreme and gorge ourselves on doughnuts. It's been years since we've set foot into a Krispy Kreme and I wondered if I could find a recipe and try them at home. Lo and behold, I came across This Guy. He had a recipe for Krispy Kreme-like doughnuts, and I thought, hey I'll give it a go. Here's the recipe : Krispy Kreme Doughnuts. I tweaked it for making it dairy free, and they came out soo good. Now we can have doughnuts at our house again, without worries of milk allergies going crazy. Here's my tweaked version of the 99 Cent Chef's original recipe, with substitutions made to avoid milk and butter.

Doughnut Ingredients
(Approximately 1 dozen doughnuts)
1 package yeast
1/4 cup lukewarm water (100 degrees)
2 cups flour
3/4 cup of warm milk (Soy Milk)
2 tablespoons of sugar
1 egg
1Tblsp. Crisco Shortening
A pan/pot to fry them up in with at least half an inch of oil.

Sugar Glaze Ingredients and Directions
1 Tbsp. Crisco Shortening
1 cup powdered sugar
1/2 tsp. vanilla
2 tbsp. water (clear glaze) or milk (white glaze)
Melt Crisco and add to powdered sugar, vanilla and water. Mix well for a couple of minutes. Pour into shallow dish for dipping/coating warm doughnuts.

Directions for Doughnuts

In a large mixing bowl, dissolve yeast in 1/4 cup of warm water, then add warm milk, egg, sugar, butter and flour. Mix well for a few minutes (electric mixer for 2, or 5 minutes by hand). Cover dough for at least a hour, or overnight for breakfast doughnuts. (Overnight makes doughnuts that are more chewy textured)
On a lightly floured surface, roll out doughnut dough with a rolling pin about 1/2 an inch thick. Cut doughnuts with a cutter (I used a coffee cup), then a smaller cutter (I used an apple juice bottle top) for the centers. You can set aside the doughnut holes with the doughnuts or re-roll them for another doughnut or two. Let cut doughnuts set another half an hour to rise one last time before frying.
When doughnuts have risen, heat oil in a wide shallow pan to about 350 degrees (medium heat). Test one of the doughnut holes in the oil – it should bubble and quickly brown the doughnut hole. Fry one doughnut at a time until you get the hang of it – I burned a couple. Watch carefully, as doughnuts will begin to brown along the edge in a few seconds. Flip doughnut over to brown the other side. (I used some take-out chopsticks, made it really easy to flip)  It may take a few tries – a light to medium brown doughnut is done enough.


Let your doughnuts cool on a rack or on some paper towels to drain off the excess oil, then dip into your icing, let it harden a little bit and then enjoy! Fresh, Dairy-free doughnuts!


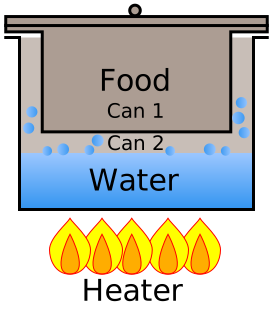
Tip: To keep the icing from getting dried out and crunchy in between dipping, I made my own double boiler out of two bowls to keep the icing at a nice warm gooey temperature. Just boil some water for your bottom bowl and plop your bowl with icing on top. A quick whirl with your whisk before dipping and the icing gets runny and smooth so you can plunk your doughnut down and give it a nice sugary coat. 

^.^ Piggy

Tuesday, May 4, 2010

Korean Food: Mandoo (Korean Dumplings) A Peanut Gallery Favorite

Today in Piggy's Kitchen: Korean Dumplings (만두 -- Mandoo)

One of the favorite dinners at our house for the peanut gallery (my kids) is a big steamy pile of dumplings. The kids will inhale them like they've been starving for a week. Once they arrive on the dinner table, it's practically a skirmish with forks and chopsticks, and sometimes they won't bother with utensils, little grabby fingers dive for the dumpling plate.

I make the dumplings very simple in our house. There's probably about a million different ways you can make them, with the variety of things you can put inside as stuffing, but my kids prefer to keep it simple.


What you will need for some basic Dumplings:
Wonton Skins,  Ground Beef,  Tofu,  Green Onions, Garlic,  Soy Sauce, Sesame Oil

Use a food processor and puree the tofu block down.

Mix with the ground beef and add in the chopped green onions and minced garlic.

Mix together until it is all well blended. (Yeah it looks gross, but I promise it's tasty!)

Let the mixture rest for 30 minutes before making dumplings to give it a chance to soak up the flavor. Put a small spoonful of your meat mixture in the center of the wonton skin. Wet the edges of the wonton skin and fold in half to bring the edges together. Set on tray and place your finished wontons in the freezer to solidify. Bring water to a hard boil and place steamer in the pot of water. (I have a nifty little fold out steamer that I got at the Korean Market)
Spray the steaming rack with PAM to avoid the dumplings from sticking to the steamer. Let dumplings cool and enjoy. If you have kids, grab yourself a few before they inhale them all, like my kids do!

Monday, May 3, 2010

Birthday Ideas

So later this month, my oldest will celebrate her 6th birthday. I'm hoping to make it our family tradition that for each birthday, they will get a customized cake of their choosing for their special day. So far the list is long for the customized cake possibilities. Last year's cake, which was my first attempt at baking a 3D customized cake, was a princess cake. The base (the cake part) was Barbie's dress. Thinking back about it, I think it was okay, but could have been much much better.
Updated to add the picture of the Barbie Cake!  (See, it was kind of a mess of icing all over the place, not very professional looking)
I can't find a picture of it to post, but I guess that's a good thing that I can't, it's not a cake that I would really be that proud to show off. The Marshmallow fondant was too sticky and it was really just a giant glob of pink. 
Last year was really just testing the waters in terms of baking and my lack of skills with baking and decorating really showed. As the photo of my husband's cake shows, I need some work in the drawing department. Poor Cow. It looks so sad on the top of the cake. 


Fast forward to earlier this year, 2010! I learned some techniques and played with fondant more to get better acquainted with it. Plus I invested in some actual baking tools too, I'm sure that helped.
Earlier this year was our "baby's" 3rd birthday. His request was SpongeBob. That one turned out much better, and also took a lot more time to create.  All our cakes must be dairy free since they kids have allergies to dairy, so that is one of the main reasons why I choose to make them, along with the fact that I do enjoy baking and creating. Here is the finished Spongebob cake, which took me a total of 5 hours to craft. Much better in comparison to last year's cake for the hubby, if I do say so myself.


What will this year's birthday cake be for my oldest? She has about a week to decide for sure whether it will be Tinkerbell or Winnie the Pooh or something else that she thinks of to add to the already long list of choices.

    ^.^
~Piggy~

Growing Green Onions

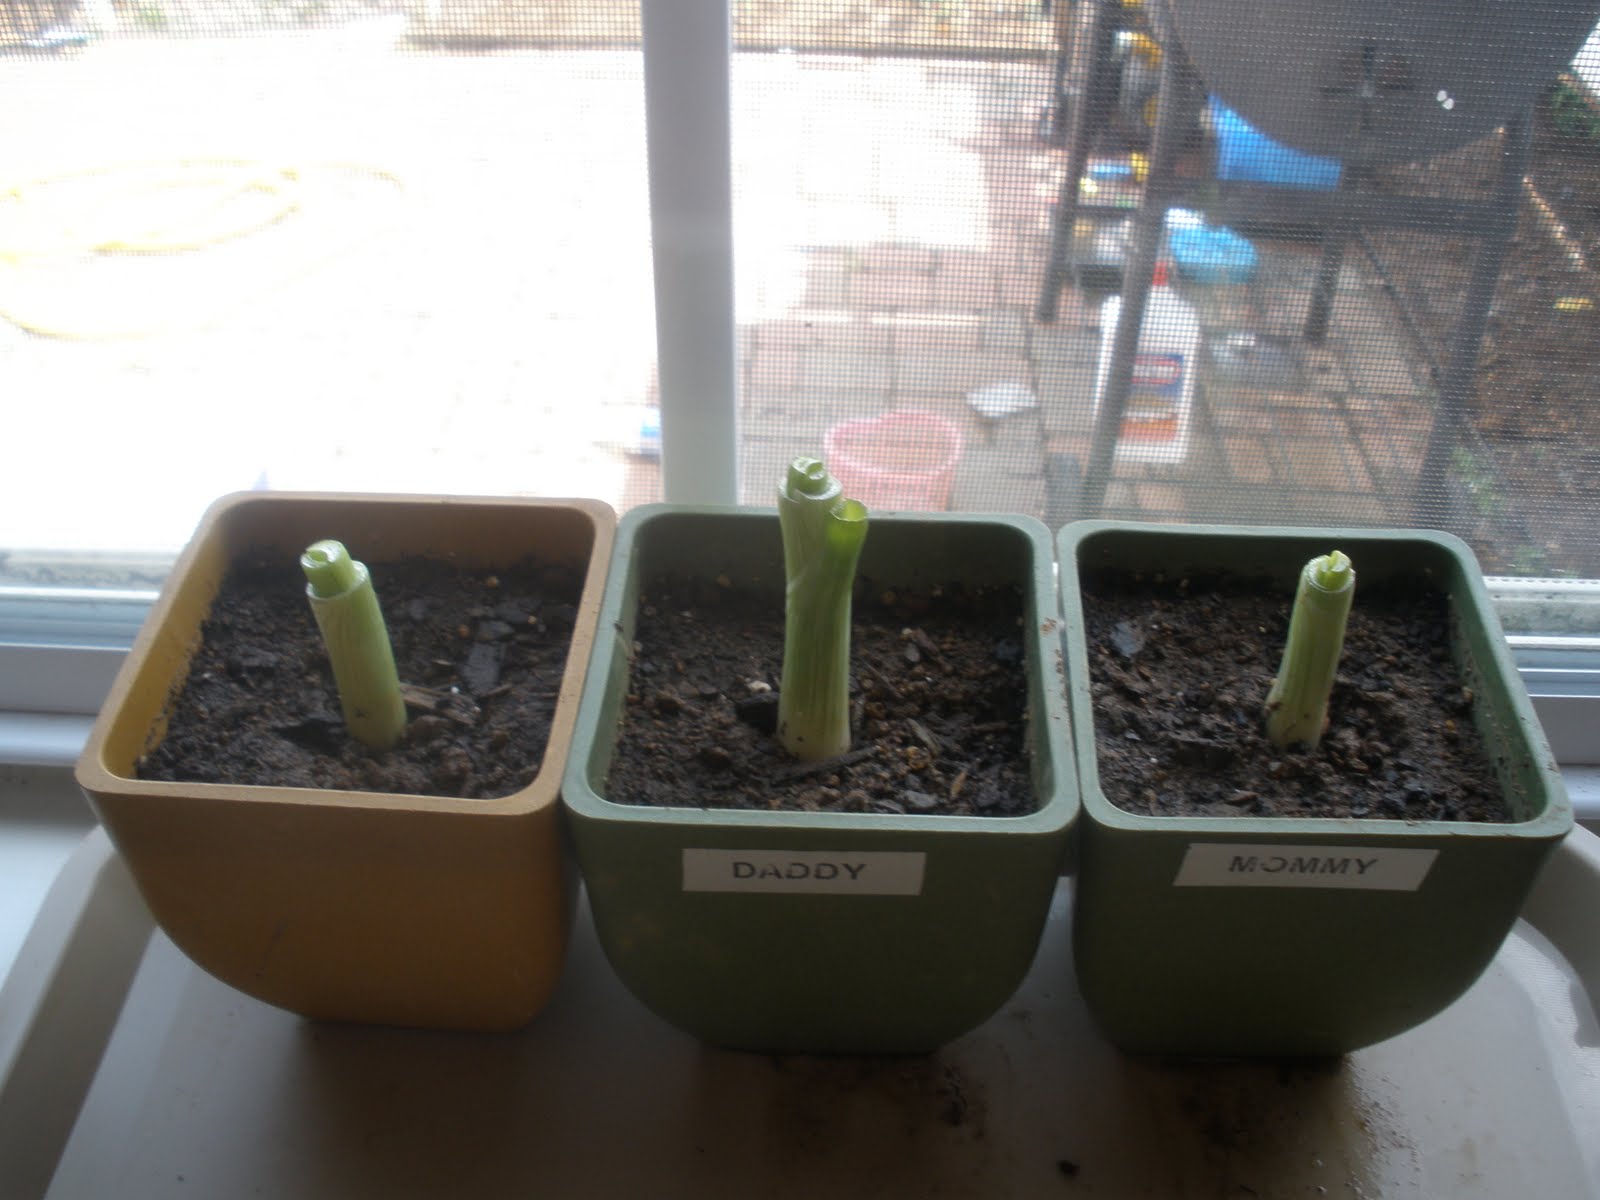
So I read on another website that if you plant the root ends of a green onion, that it will grow back! (Therefore, giving you a free green onion for each that were paid for, if they really do grow) So I thought I would give that a shot last night, while making dinner, I went through three green onions, so I took the little root ends and planted each one in a little pot and watered them down. 


This morning, I came down to find that they have grown slightly overnight! 


This blog will just be a place for me to post my trials and errors while exploring the baking world and my attempt at growing plants. I'm really enjoying baking, I've made some fresh from scratch doughnuts; I woke up at 4am to make them last week, and my french bread for our Italian dinner last week was well received; there were only crumbs of the golden loaf I'd baked earlier that afternoon. 

    ^_^ 
~Piggy~